Why this matters
Most homeowners file a roof insurance claim once, maybe twice, in the entire time they own a home — usually right after a stressful storm. Not knowing the sequence of steps costs people time, and sometimes money, because deadlines get missed or damage gets documented too late or too thin. Below is the process in the order it actually happens. Crownline Roofing is a licensed roofing contractor, and while we can inspect, document, and support a claim as the contractor of record, the insurance carrier alone decides what is approved and paid — nothing here should be read as a guarantee of coverage or settlement amount.
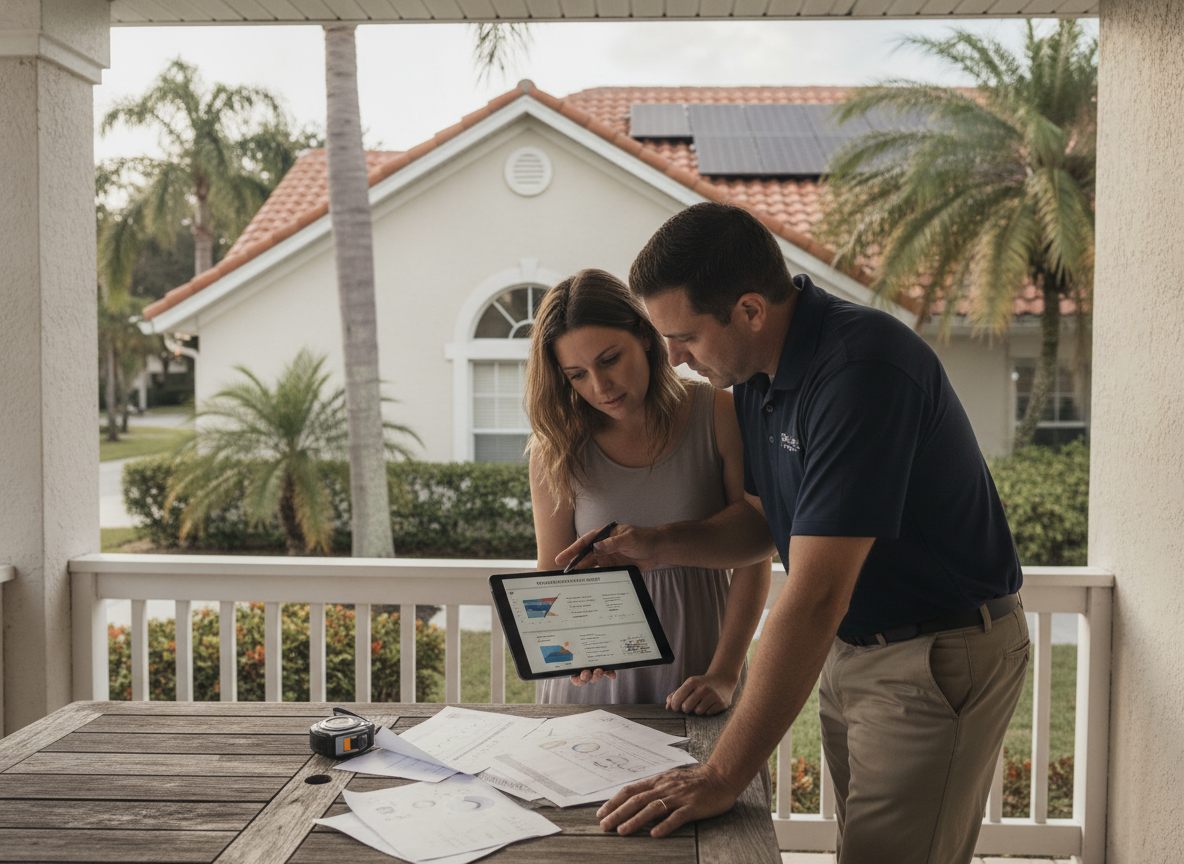
Step 1: Get a documented roof inspection first
Before you call your insurer, it helps to know what you're actually dealing with. A licensed roofer can inspect the roof, photograph the damage, and put together objective notes on what's broken, where, and how it appears to have happened. This isn't required by every insurer before filing, but it means you walk into the claim already knowing the scope, instead of finding out for the first time from the adjuster's report.
Step 2: Review your policy and note key numbers
Pull your declarations page and note your dwelling coverage limit, your standard deductible, and — critically in Florida — your separate hurricane deductible, which usually applies once a storm is officially named or designated. Also check whether your policy pays actual cash value or replacement cost for roof claims, since some Florida insurers apply roof-age-based payout schedules. [confirm current FL statute and carrier-specific roof-age payout rules before publish]
Step 3: File the claim with your insurer promptly
Contact your insurance company or agent directly — by phone or through their claims portal — and report the date of loss (the storm date), a general description of the damage, and your contact information. You'll receive a claim number; keep it, since you'll reference it in every future conversation. Florida law sets specific deadlines for reporting property claims after a loss. [verify current FL statute of limitations / prompt-notice deadline before publish] Filing sooner rather than later avoids any argument later about delayed reporting.
Step 4: Document everything before repairs begin
Photograph and video the damage from multiple angles, inside and out, before any temporary repairs or cleanup. If you must do emergency mitigation (tarping a hole, for example) to prevent further damage, document the roof's condition first, and keep receipts — reasonable emergency mitigation costs are often reimbursable. See our documentation guide for a full checklist.
Step 5: Prepare for the adjuster visit
Your insurer will typically assign a claims adjuster to inspect the property, either in person or sometimes via desk/virtual review. Having your own contractor's inspection notes and photos ready — and, where possible, present during the visit — helps make sure nothing gets missed. See what to do before the adjuster arrives for a full pre-visit checklist.
Step 6: Compare the adjuster's scope to the actual damage
After the inspection, the insurer issues a written estimate or scope of repair. Compare it line by line against your contractor's documented findings. It's common for an initial scope to miss damage that isn't visible from the ground or from a drone pass — hidden decking damage, for instance, often isn't confirmed until the roof is opened up.
Step 7: Request a supplement if documented damage was missed
If your roofing contractor identifies covered damage that the insurer's initial scope didn't include, a supplement request — additional documentation submitted to the same claim, asking the carrier to reconsider the scope or payment — is the normal next step, not a confrontation. This is a routine part of the process for many legitimate claims and doesn't guarantee additional payment; the carrier reviews and decides.
Step 8: Understand the settlement and next steps
The insurer will issue a settlement letter stating what is approved, at what value, and under what payment schedule (often an initial payment followed by a final payment after work is completed, especially for replacement-cost policies holding back recoverable depreciation). If the claim is denied or you disagree with the amount, see our guide on what to do if your claim is denied.
Request a Free Inspection